second (alcoholic) take on BIM360 docs
A while ago I did what has been defined an unflattering review of this collaboration tool in its early release. Your friendly document controller was not-so-friendly, and kept crashing. Here’s a quick video reminder if you don’t remember what BIM360 is about. .. A lot of upgrades have been made since my first test, so I went […]
A while ago I did what has been defined an unflattering review of this collaboration tool in its early release. Your friendly document controller was not-so-friendly, and kept crashing.
Here’s a quick video reminder if you don’t remember what BIM360 is about.
..
A lot of upgrades have been made since my first test, so I went back (as I did for Formit: first and second take here and here) and tried it again.
Here’s my second test.
Should you wish to follow me through, you’re gonna need:
– n.1 actual project with:
– one or more Revit models;
– some exported dwgs;
– single page pdfs;
– at least nr1 multi-page pdf;
– a bunch of raster pictures.
– a bottle of whiskey.
1. Upload
If you remember, one of the main issues was the upload getting stuck even with few documents. Now, the upload doesn’t seem to be any faster but they did add one nice functionality: you can leave your upload to be, go grab a drink (I’m gonna need someone to count them, ’cause there’ll be few of them) and wait for your friendly document controller to mail you when he’s done.
And he does. I’ve got an e-mail to prove it.
Ok, I know, it doesn’t read like a “yay, we did it!”. And even if you open it it’s a little vague and it doesn’t really comes through as a success.
Just trust me, file was there when I came back from my drink. If this happens to you too you can celebrate, I guess, with a drink.
It might happen that BIM 360 docs is a little more enthusiastic in its e-mails. This is what it says whenno action is needed on your behalf, meaning you don’t need to do absolutely anything. In this case you can celebrate even without going back to your computer.
2. Define Title Block
When you upload a file, you can add a titleblock. Now don’t expect a graphic title block like this one: it’s not what this is about.
What you can do is adding a name and a size for your sheet (because yes, despite being called BIM360 docs, I think the doc part is still so much more relevant than the BIM part). Also, you can highlight a part of the file to have some sort of preview of the title block (the graphical part) and then again manually select the main fields in order to re-map them into BIM360 docs.
I know, I know. It’s not clear. I’ll explain myself (or at least I’ll try).
Imagine you have a titleblock already filled in with parameters such as:
– Sheet Title;
– Sheet Number;
– Sheet Issue Date;
– Sheet Issue Number;
– Sheet Format.
The system already provides you with the main fields, which in its opinion are:
– Sheet Number;
– Sheet Title.
If you already have them in your title block, all you have to do is pre-select your titleblock and then, in the preview you get on your right, select the main fields when you already have filled in Number and Title.
Where’s the trick?
Well, the trick is that your sheet needs to be vector. If you don’t know why your pdf might not be vector, please check this one out.
If it’s neither of them, this is what will happen to you. If you see the picture blurred, it’s not the whiskey. This is precisely what happens.
Well, of course. Now the funny part is that none of your pdf will be vector if you use Autodesk default title block, because if contains a raster picture.
Anyway, once you mapped one titleblock you can retrieve this mapping for other sheets with the “select from any project button” link, which is too late to select if you decide to pick an area from current file. It takes quite a while, so you might want to grab a drink and you’re gonna need it, since you don’t seem to be able to add title blocks to already uploaded documents. I guess sometimes you don’t get second chances when it comes to Autodesk.
3. Review your (pdf) files
Ok, so let’s assume you’ve uploaded a bunch of pdf files and you want to review them.
First thing you should know (and they tell you straight away) is that you can’t add markups to drawings in the Project folder.
At a first glance, it’s just not clear why. This seems like the surface pattern thing on Revit topographies. What’s really tring to do, in fact, is dividing your upload space into two parts: the first one being accessed by architects is the project files area, in which you cannot make markups. The second part is the Plans and Shop Drawings folder, in which you upload documents meant to be opened on site.
If you upload a multi-sheet pdf, it gets split up into different pages (I don’t plain believe the assistant: I’ve actually tried that… and it took quite a while so you might wanna go and grab a drink to pass your time).
You will be asked to select a titleblock before the document is split, and this will show as a preset for all pages in your pdf so if you make a mistake… this might call for a drink, though I never condone these kind of self-indulgent beheaviour. When upload is done, you’ll be asked to process it, meaning you’ll have to manually reset Number and Title (or any other field you might have added) if you selected the title block wrongly or if your title block is not vector.
Just remember that when you have a bunch of stuff you can always sort it with different attributes.
4. Add Markup on your (pdf) files
It works. Really.
You have all the tools you might dream of, including different revision cloud colours (well, that’s more than Revit does, anyway). You can add a markup, seriously.
That’s the good part.
The bad part is… well, actually a few areas for improvement here.
1. It might be nice for markups to behave like a conversation, as Tekla BIMsight allows you to do. Because it’s nice to know someone has something to say about the drawing but it’s also nice answer them, sometimes.
2. It would be wonderful for markups to actually show up on the index page: right now you don’t seem to have an immediate way of knowing which drawings contain markups.
3. I would like to be able to have second thoughts on my markups: right now, when you’ve added a markup it’s for life. You can select all shapes and trash them, but not revision clouds. All you can do is hide all of them and hope nobody turns them on. And here I thought only diamonds were forever…
4. Review your (dwg) files
If you have dwg plans, preview works marvelously. You can see your drawing, turn layers on and off and all those kind of things you used to be able to do with A360 too (which, I remind you, is free).
Also 3d navigation works smoothly: no objections here. After all it was I who picked that layer colour… and it’s amazing because back in the day AutoCad colours were just to help us sort out line weights… how come they became actual colours for a 3d preview? Seriously…
Now, you might get this error. Quite often.
Some files just won’t get a preview and there’s nothing you can do about it. Aside from, maybe, having a drink.
5. Review your pictures
Nope. Nothing here. We’re still unable to get a preview from pictures, or to draft markups on them.
6. And what about BIM?
Still wondering where’s BIM in all of this? You’re right. Let’s just be clear about this: when they talk about models, they’re just talking about 3d models for… well, I don’t know. You can use them not to get lost on site, I suppose.
If you upload a Revit model, it takes a lifetime to process (time for another drink), and then it surprises you. Because you actually can process a Revit model into different sheets just as you can do it with a multipage pdf. Seriously.
And what’s more important is that it opens them! Really, it does.
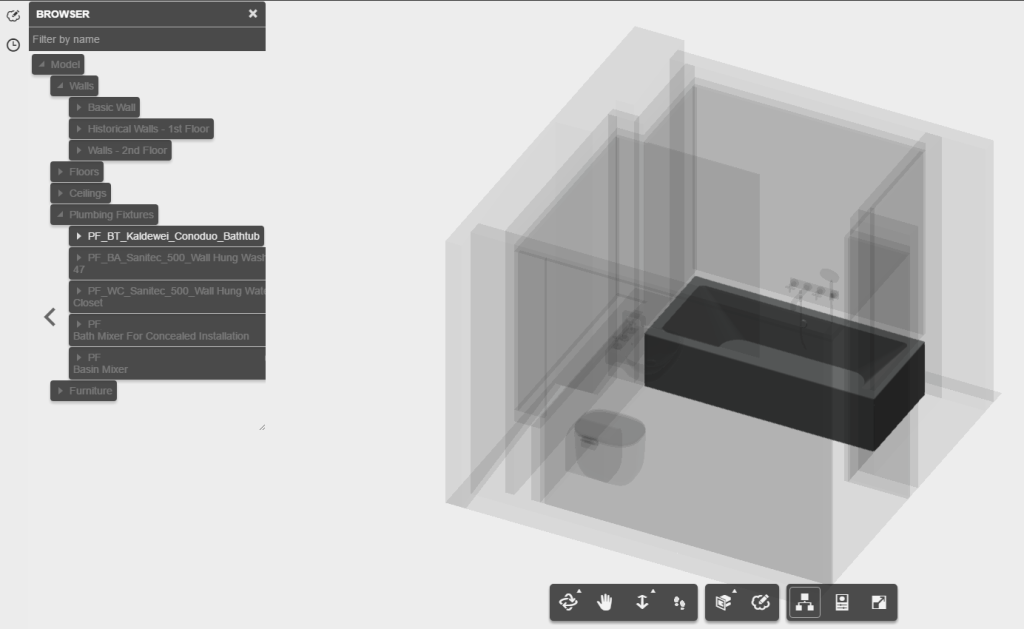
You can review sheets without going to pdfs and you can click on objects to inspect them. It does take a while to load all information once you clicked on a family, but still, you can kill time by pouring yourself a drink while you wait.
Of course the layer manager gets a little odd when it comes to a Revit sheet.
Yeah, I know, but what you were expecting?
What you should focus on, instead, is the properties tab. I’m serious.
And again, you can add markups and all the usual stuff.
What you cannot do is do individual takeoff, meaning that if you’re on site you’ll be provided with the views and sheets somebody prepared for you (including schedules) and a basic model browser where you can browse your model and… well, interrogate stuff by clicking on it. Visualization is rather good and you can also navigate the model by walking inside it and creating section boxes.

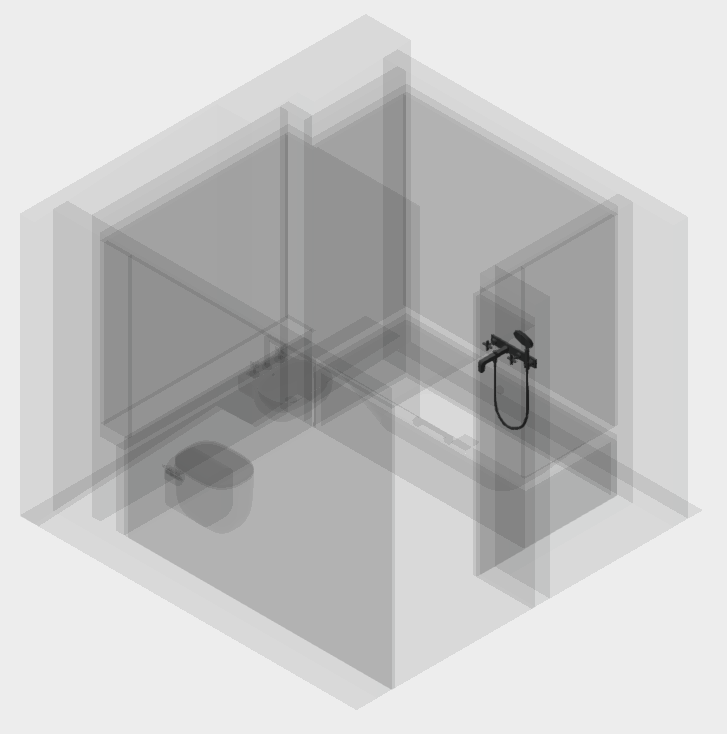
Hint: All you need to do is being careful not to have a section box active in your revit model when you upload it, because BIM 360 docs seems to be able to export in the 3d view only what it sees in that moment.
And how to markups behave on 3d views? Well… now you see them:
Now you don’t.
I’ve yet to find a software that allows you to add markups on the object itself, instead of the view. Pity.
Still, BIM 360 docs in this new test gets an 8, and I love the fact that it’s able to automatically split the sheets from a Revit model.
If they keep up the good work it might be worth the… well… geeze, I don’t know. It’s really pricy.
I guess we’ll see.


One Comment